
How to Install Lightroom Presets

Welcome to Lightroom Presets Premium! Installing our presets in Lightroom is very easy. The step by step below will teach you how to install Lightroom Presets into Adobe Lightroom in just 2-3 minutes. Just choose your operating system (PC or MAC) and follow the instructions.
What´s your System?
- How to Install Lightroom Presets on WINDOWS
- How to Install Lightroom Presets on MAC
- How to Install Presets in Lightroom CC
How to Install Lightroom Presets on WINDOWS
1. Open Lightroom.
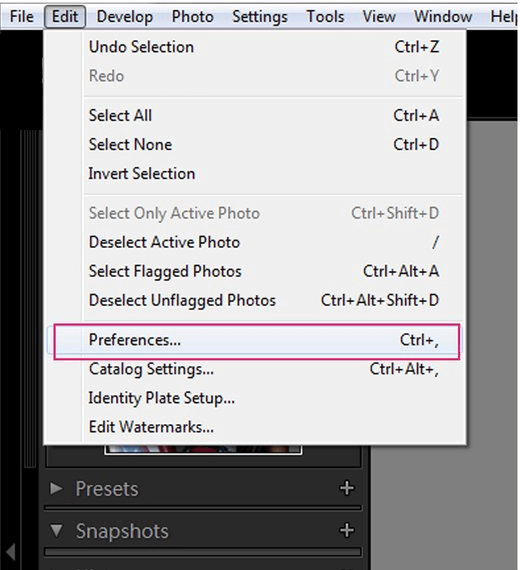
2. Click on Edit at the top (next to File), then click on Preferences.
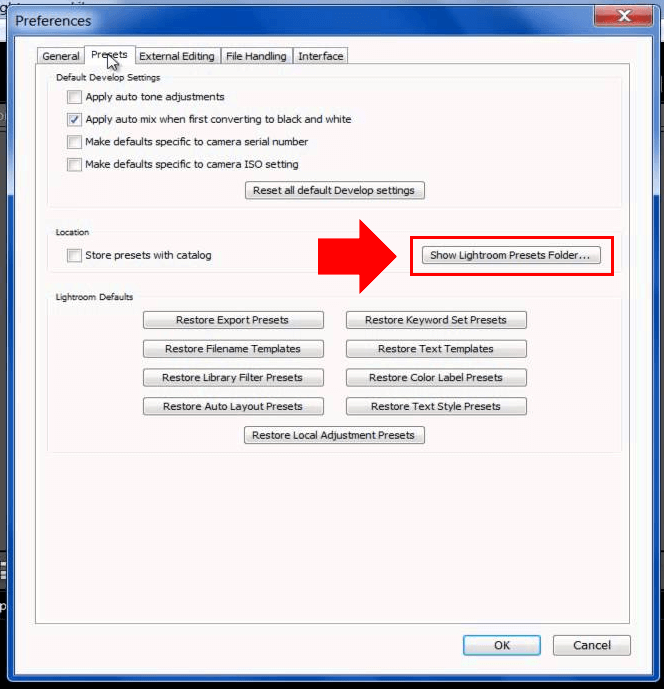
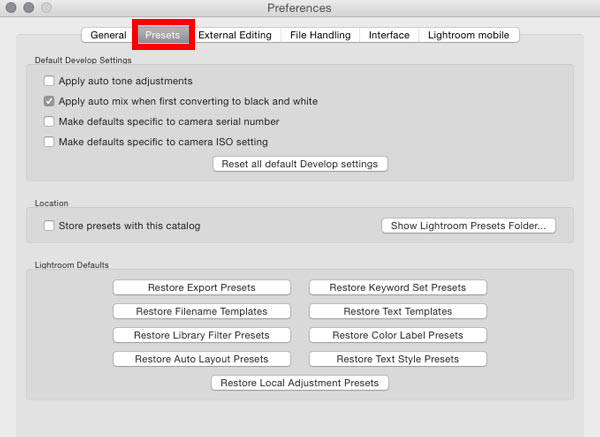
3. There will be a new screen that pulls up. There will be six tabs at the top, click on Presets (second tab).
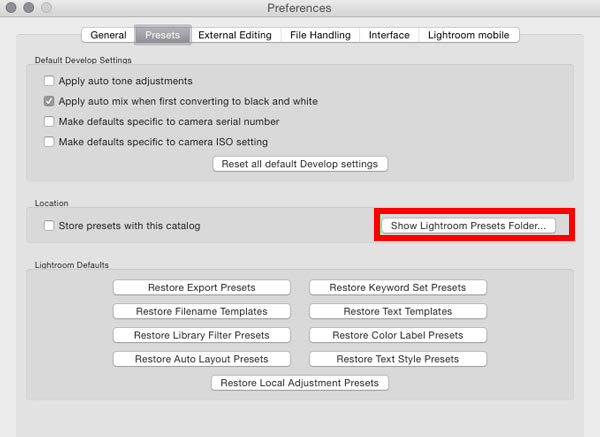
4. Click on the button titled: Show Lightroom Presets Folder.
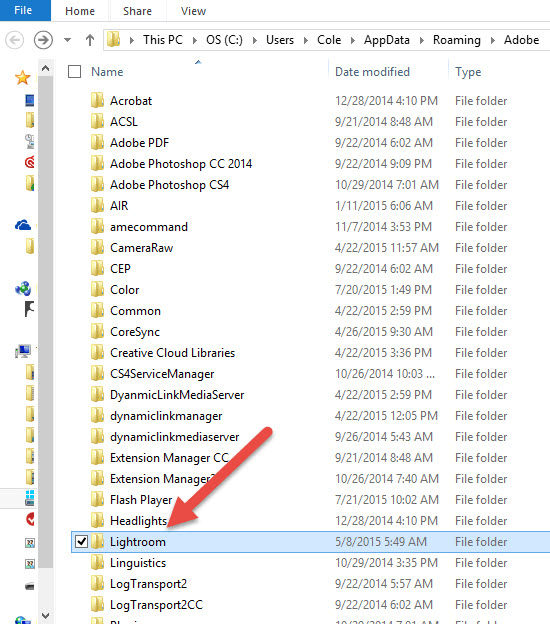
5. Double click on Lightroom.
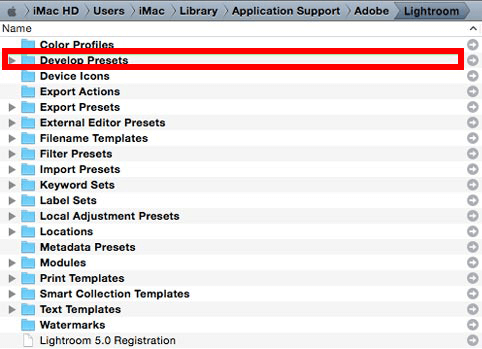
6. Next double click on Develop Presets Folder.
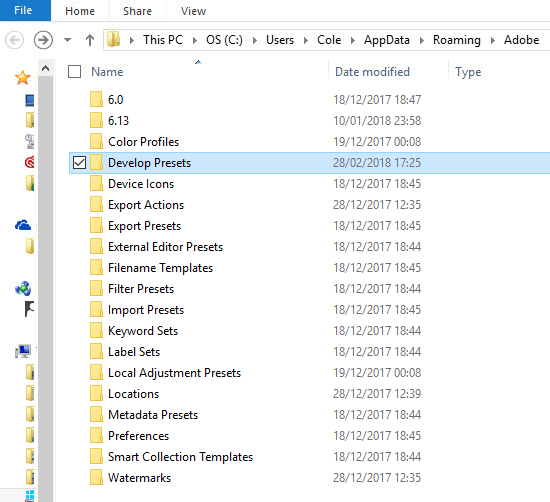
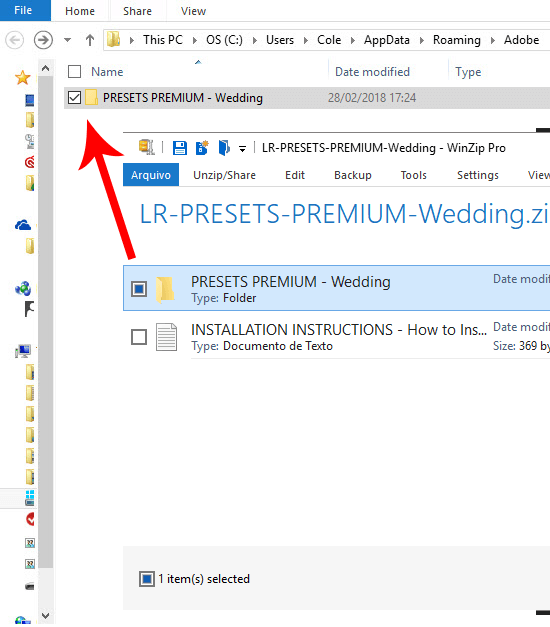
7. Extract the contents found in your download zip, into the “Develop Presets” folder.
8. Restart Lightroom. You're done!
How to Install Lightroom Presets on MAC
This step-by-step is valid to Lightroom 4, 5, 6 & CC on MAC
1. Open Lightroom.
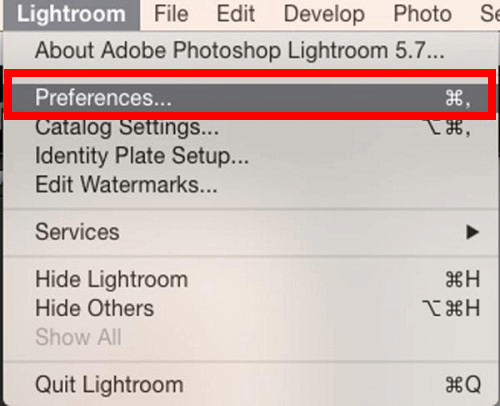
2. Locate the top menu bar and navigate to Lightroom > Preferences.
3. There will be a new screen that pulls up. There will be six tabs at the top, click on Presets (second tab).
4. Click on the button titled: Show Lightroom Presets Folder.
5. A new Finder window will appear. Open the Lightroom folder, then open the Develop Presets folder.
6. Extract the contents found in your presets download zip, into the “Develop Presets” folder.
7. IMPORTANT! Restart the Lightroom.
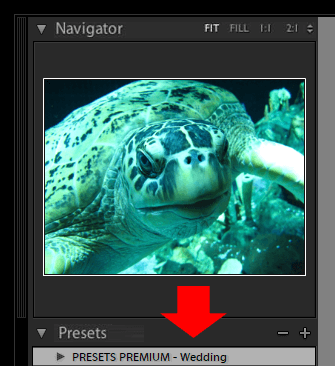
8. You will find your new presets located in the Develop Module under the Presets section, along the left side of the screen.
How to Install Presets in Lightroom CC
This step-by-step is valid to Lightroom CC 2018 version 1.3 and newer
1. Extract the contents found in your download zip, into a folder.
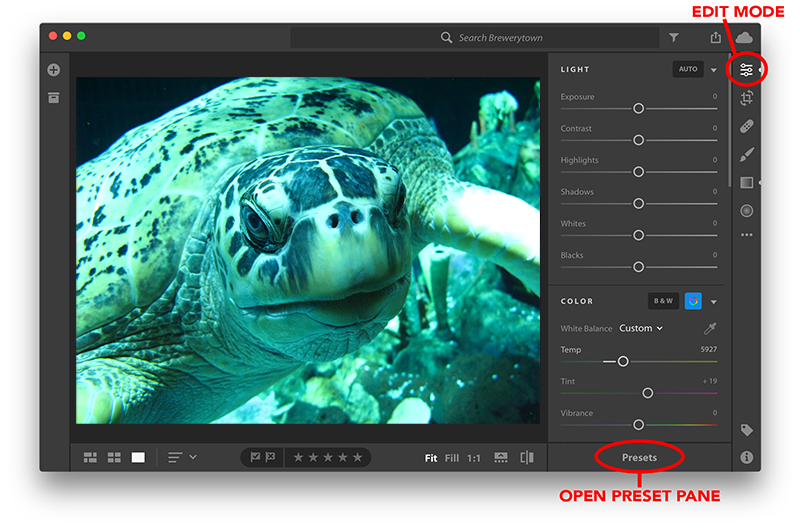
2. In Lightroom CC, make sure you are in edit mode with the preset pane selected.
3. In the preset pane, click the "•••" icon, and then select "Import Presets"
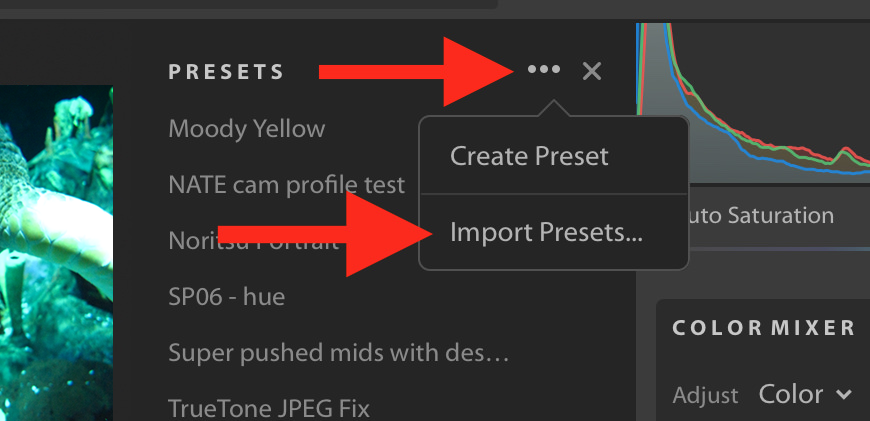
(NOTE: If you see "Open Preset Folder" instead of "Import", then you have an earlier version of Lightroom CC.)
4. You'll see a dialog box pop up like this...
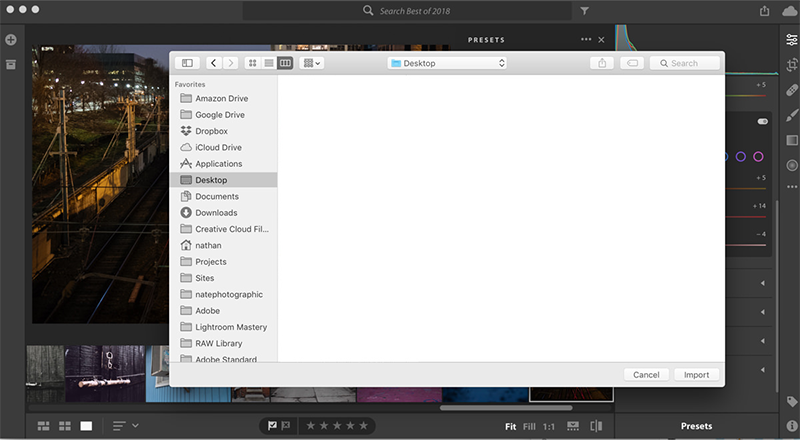
5. Navigate to the folder where you extracted the contents of the zip in step 1. Make sure the specific preset FOLDER (or FOLDERS) you want import are selected.
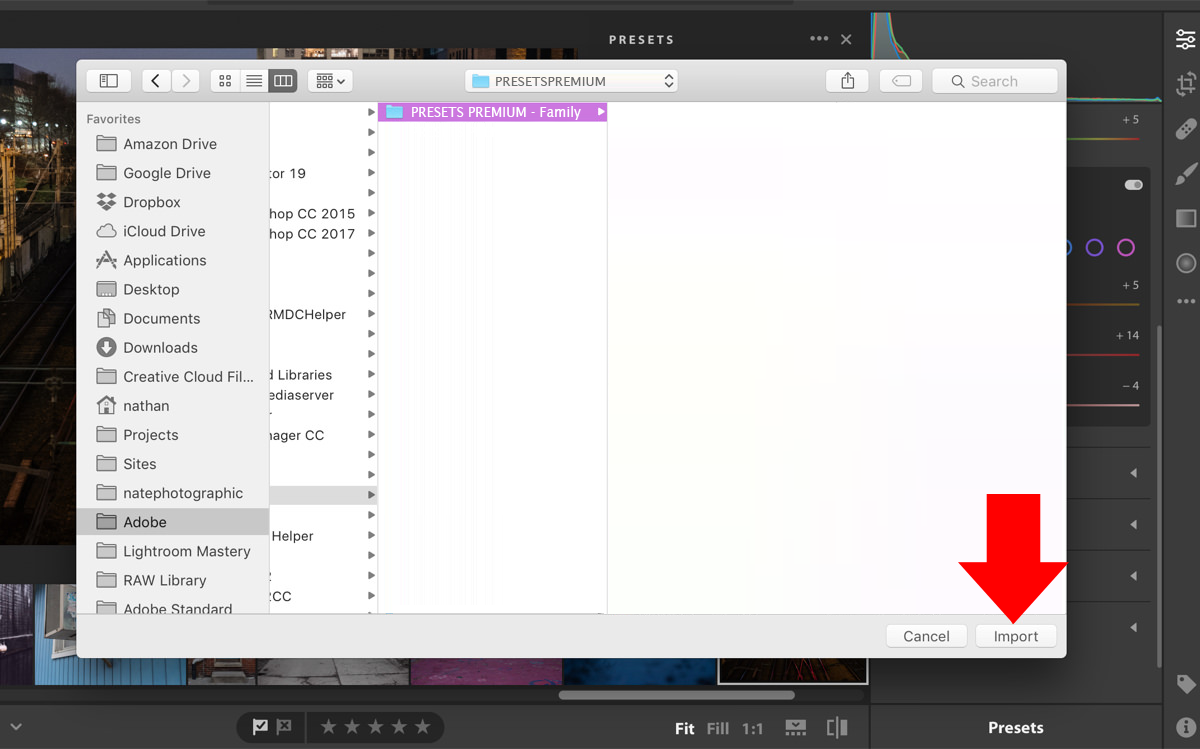
6. Then click "Import Presets"
It's best to select the preset folders (instead of the individual preset files) so that Lightroom CC will keep the same organization structure.
And that's about it!